 |
| This is the separate "train room" door that leads upstairs to the layout. |
 |
| Inside the door, the stairs leading up... |
 |
| Stairs coming up from entry, located in middle of layout room. |
 |
| Layout room looking North before starting on room finishes. |
 |
| Another early view looking North. By using roof trusses no support columns were needed. |
 |
| Early view from middle of room looking South |
 |
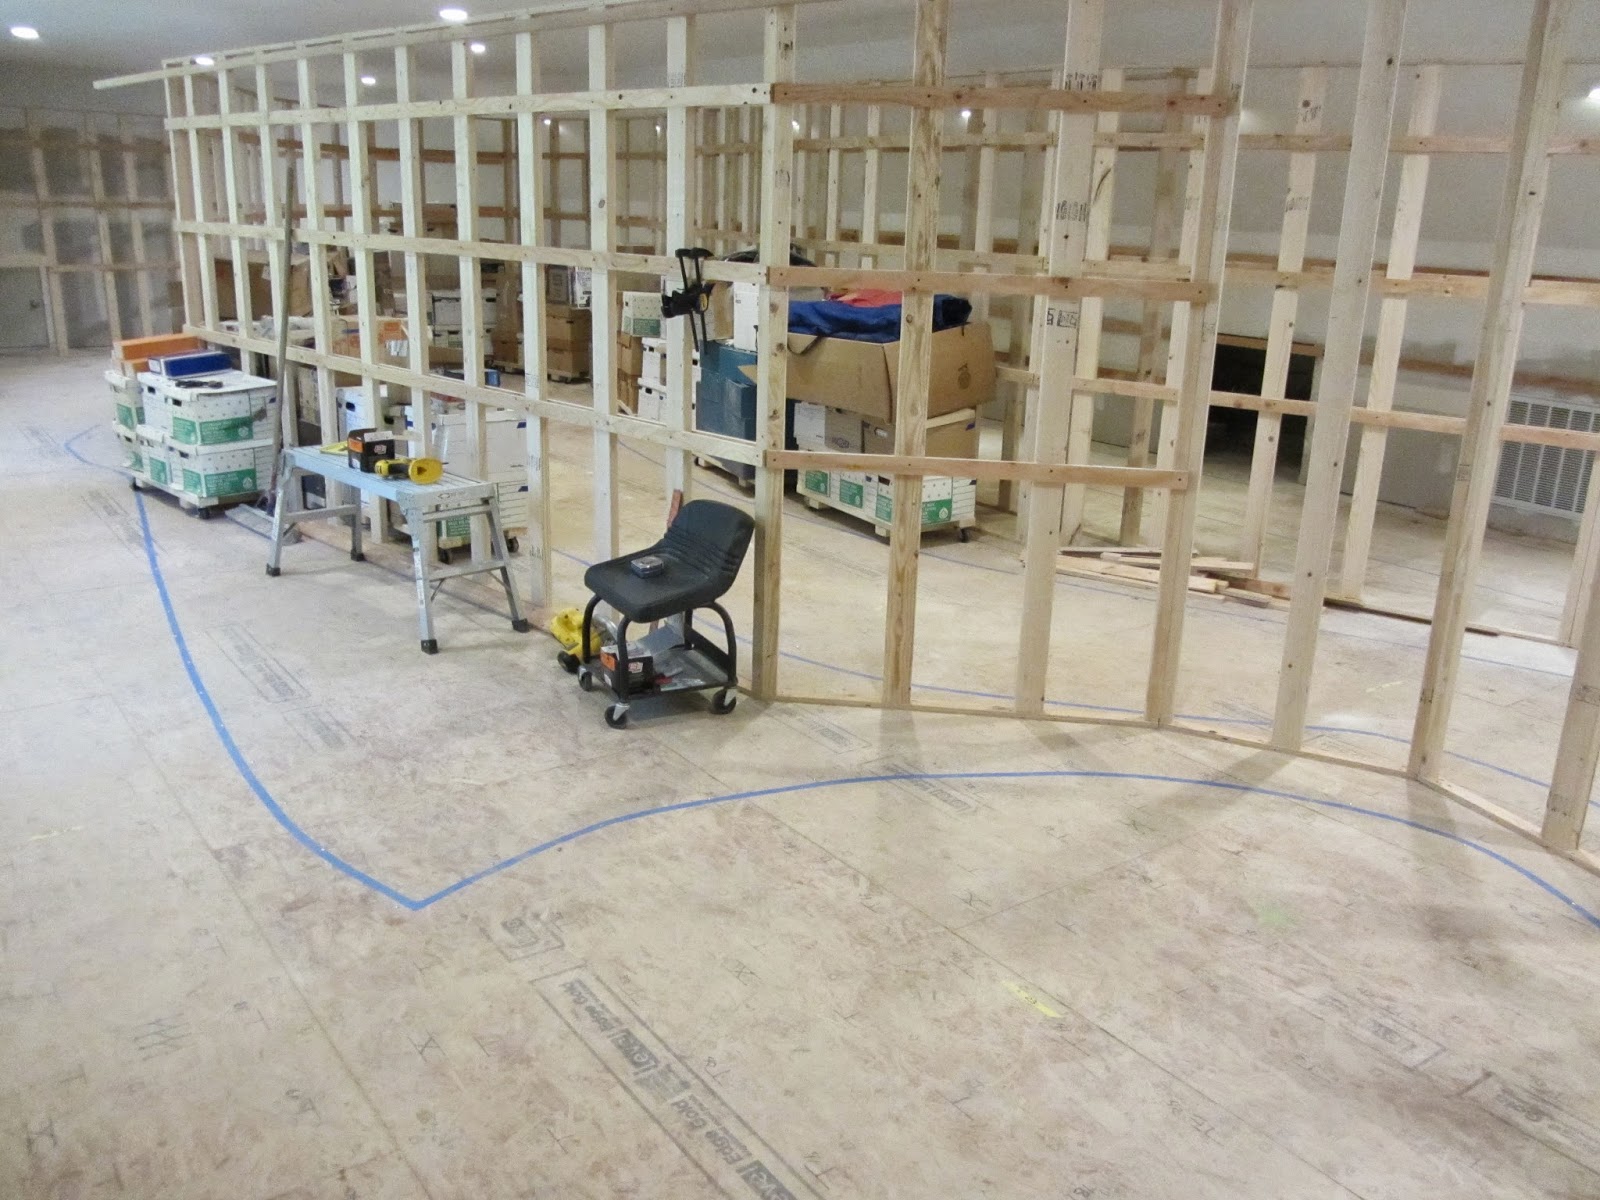
| After room finished, standing at Farmington looking North. Blue tape on floor defines benchwork edges. |
 |
| Looking North, headed towards Strong at the end of the room. Here can see the interior walls I built to define the space. Walls only go 7 feet high to allow air circulation space above. |
 |
| A view of the early mockup for the level heights. The top level is there to hold the layout lights illuminating the upper level. Windows will be blocked off behind backdrop. |
 |
| Interior shot of future home for Phillips |
 |
| Shot of interior section of layout. Good shot of overhead LED lights over aisles. They dim for operating sessions. |
 |
| View looking South headed for Rangeley on the lower level and Bigelow on the upper level. |
That is a huge space for a pretty big layout. You for sure have the capacity to do the SR&RL right. I'm in a similar phase of finishing my basement for a layout and I also decided to go with the dimmable LED can lights. I'm not an On2 modeler, but I've done a little dabbling in On2 over the past couple years, including scratchbuilding an On2 flatcar after visiting Maine (picture: http://2.bp.blogspot.com/-RI25EnLms_k/UqaeMLfNEMI/AAAAAAAAEL4/rlfG3pm7v9U/s1600/photo+1.JPG). Well, good luck on the layout. I'll check out your blog periodically for updates.
ReplyDelete